F8 Effect F8 Effect

F8 Effect Manual

Version 1.0.5


Capture Mode Buttons

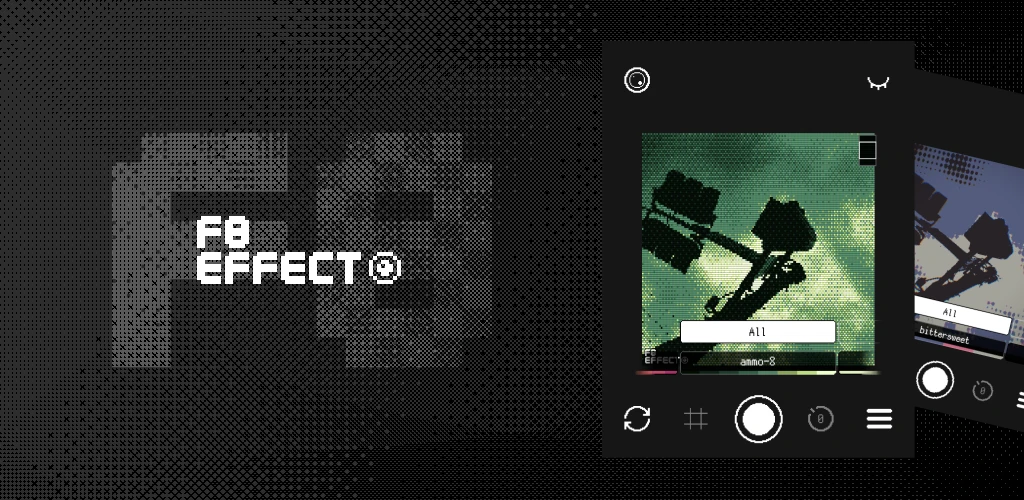
When you open the app, your live camera feed is displayed with effects applied in real time — what you see is what you get before you shoot.
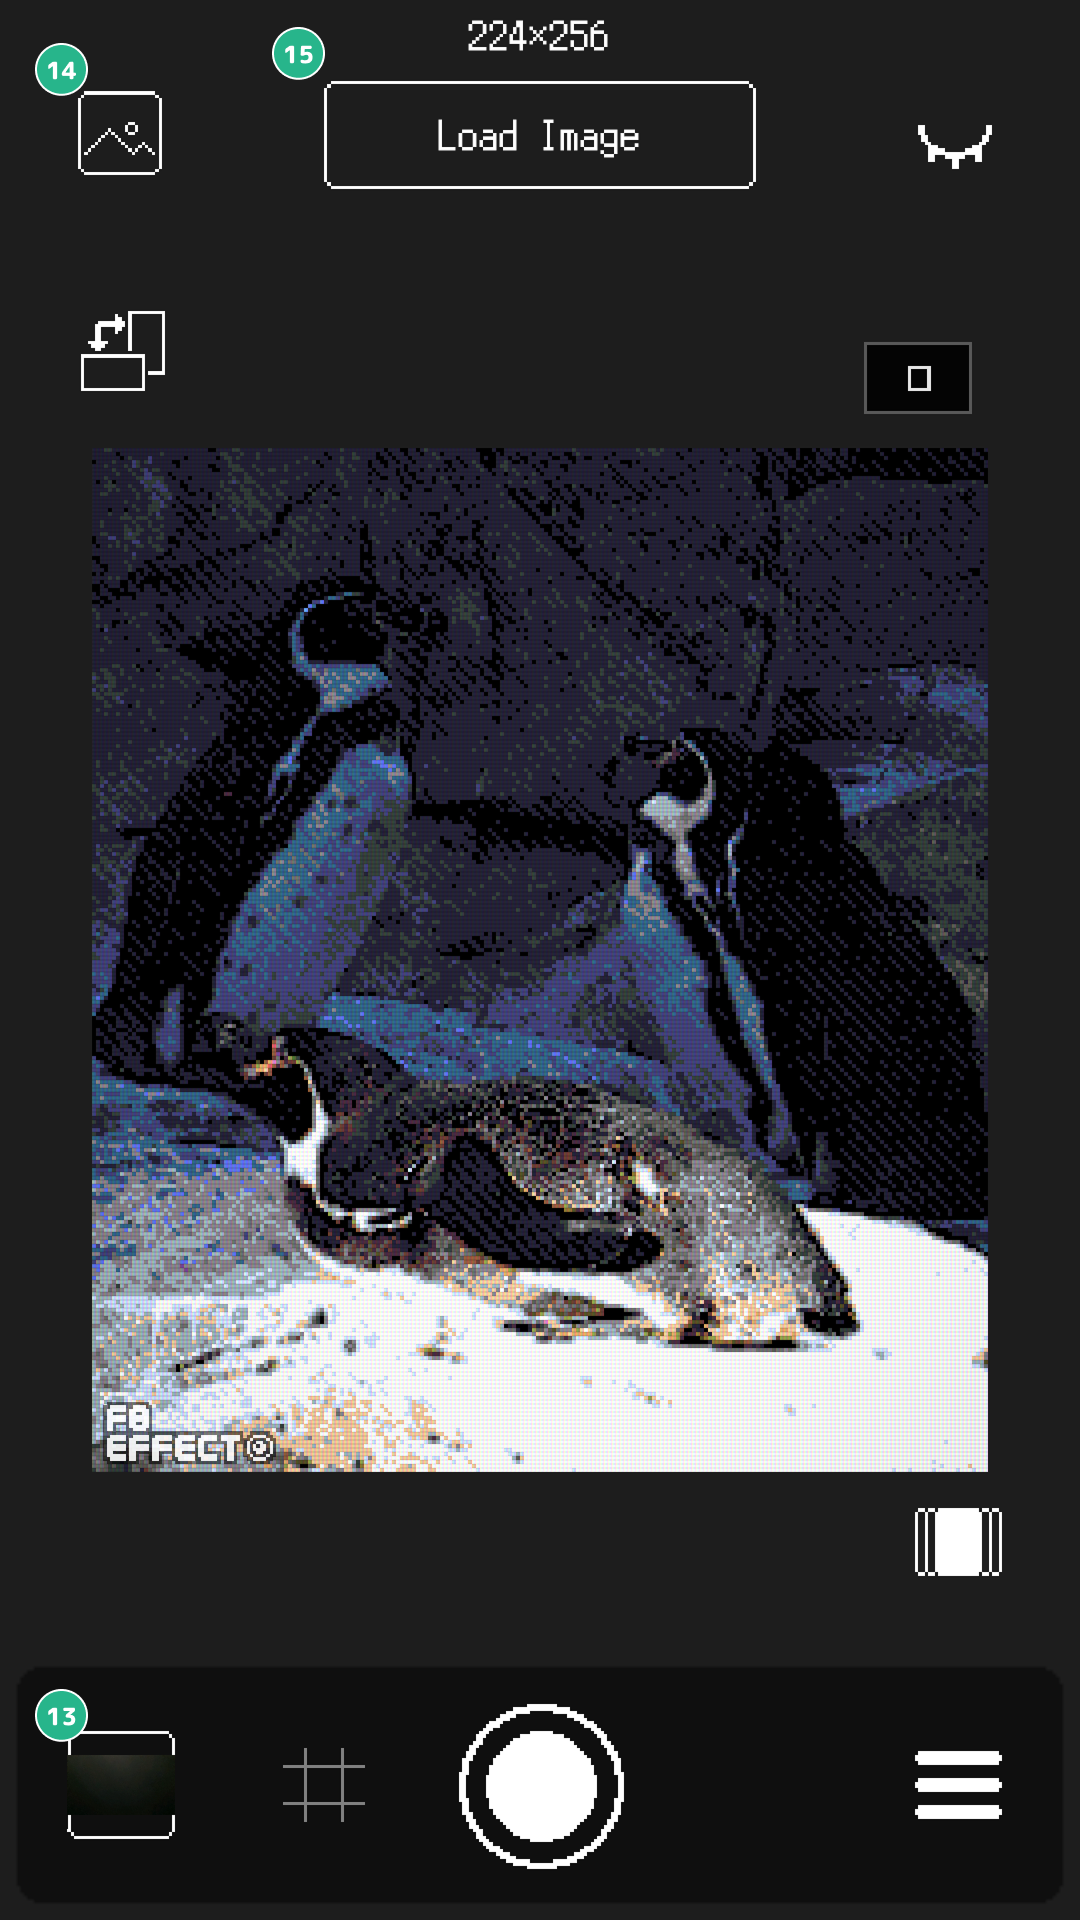
Camera screen button overview
  • 1 Camera view
    Pinch in/out (mobile) or scroll the mouse wheel (PC) to zoom
  • 2 Camera switch
    Toggle between front and back camera
  • 3 Grid
    Cycle through composition guides (Off / Rule of Thirds / Center Cross)
  • 4 Shutter
    Capture and save to your camera roll
  • 5 Timer
    Set a countdown before capture (Off / 3 / 5 / 10 sec)
  • 6 Menu
    Open the effect settings panel
  • 7 Preset menu
    Open the preset selection screen directly
  • 8 Load image / Edit mode
    Pick a photo from your library and switch to edit mode
  • 9 Pixel resolution
    Shows the current resolution preset. Tap to open the resolution picker
  • 10 Hide UI
    Temporarily hide all buttons to see the camera view unobstructed. Tap again to restore
  • 11 Swap orientation
    Swap the resolution width and height (e.g. landscape → portrait)
  • 12 Map view
    Shows your current zoom/pan position. Tap to reset to the default position

Loading Images / Edit Mode Buttons

Tap the load image button () to pick a photo from your library and switch to edit mode. You can apply and adjust effects just like with the live camera.
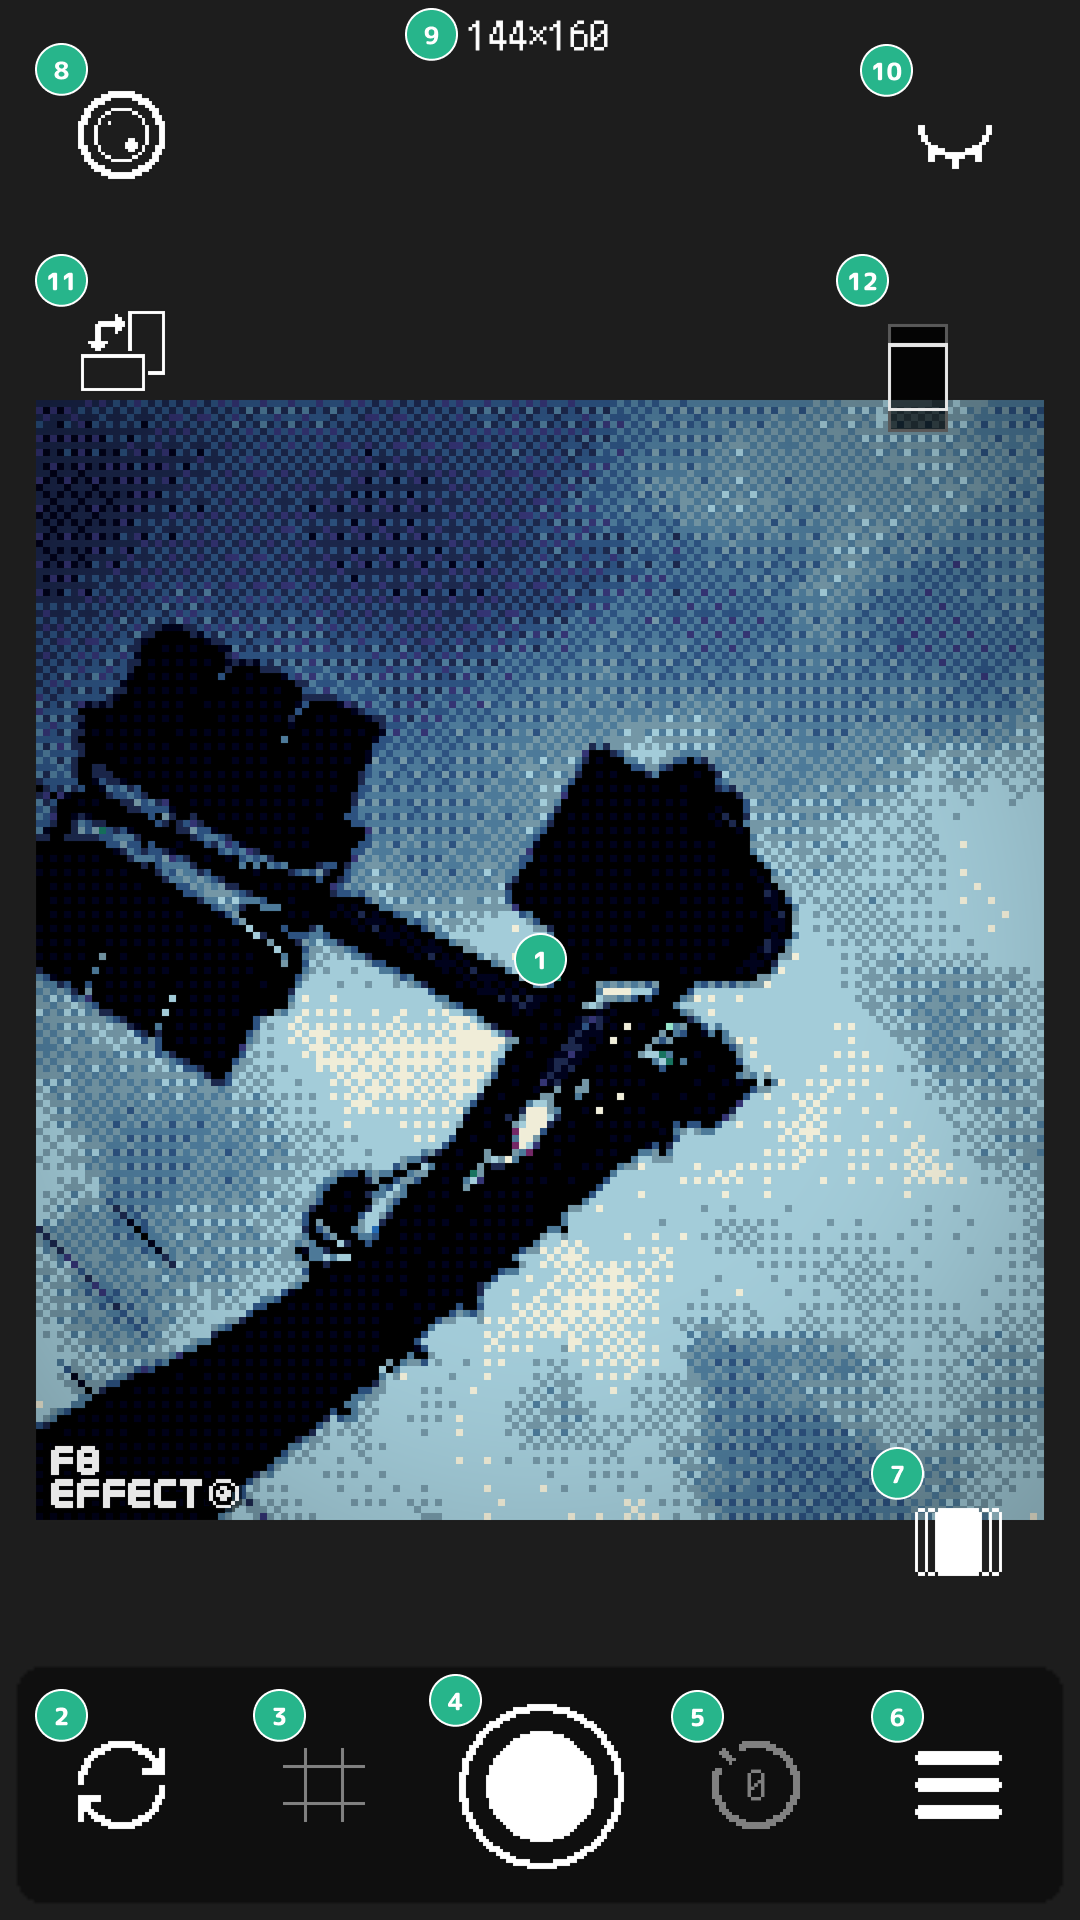
Edit mode button overview
  • 13 Last captured photo
    Reload the most recently captured photo
  • 14 Switch to capture mode
    Return to the live camera view
  • 15 Load image
    Pick a different photo from your library
  • Supports common formats including JPEG, PNG, and HEIC.
  • Effects update in real time as you adjust settings.
  • Tap the shutter button to export the result to your camera roll.

Capture & Save

Tap the shutter button () to take a photo. The image is automatically saved to your device's camera roll.

Timer

Select a delay (3, 5, or 10 seconds) from the timer button (), then tap the shutter. The app counts down and captures automatically.

To capture without the F8 Effect logo on your photo, you can turn it off in the settings.


Effect Settings Panel

Tap the menu button () to open the effect settings panel.

Effect panel overview
  • 16 Save as My Preset
    Save the current effect settings as a new My Preset

Resolution

Select a pixel resolution preset. Lower values produce a coarser, more retro pixel look. You can also swap the width and height orientation.

Color

Color Palette
Choose the color set used to render the image. Select from around 100 palettes, with the option to fine-tune individual colors within each palette.
Contrast
Adjust the difference between light and dark areas. Higher values give a sharper, punchier look; lower values flatten the image.
Brightness
Adjust the overall brightness of the image.
Color Inversion
Invert all colors, creating a negative-film-like effect.

Dithering

Pattern
Renders mid-tones as dot patterns to simulate a limited color palette. Choose from Bayer, vertical lines, horizontal lines, random, and more. Turning dithering off produces solid, uniform pixel blocks.

CRT

RGB Mask
Overlays a sub-pixel pattern that mimics a CRT monitor screen, adding an authentic retro grain.
Vignette
Darkens the edges of the frame, evoking the look of film photography or a retro camera lens.
Chromatic Aberration
Slightly offsets the R, G, and B channels to simulate lens color fringing.
Curvature
Warps the image into a spherical shape, mimicking the rounded screen of an old CRT television.

Edge Detection

On / Off
Detects and highlights the outlines of objects in the image, creating an illustrated or comic-like look.
Intensity
Controls the strength of edge detection. Higher values pick up finer details; lower values emphasize only prominent outlines.

Preset Menu

Open the preset menu directly with the preset menu button (). Presets let you save and recall combinations of color palette, resolution, and effect settings in one tap.

Preset menu overview
  • 17 Tab switcher
    Switch between Built-in Presets and My Presets
  • 18 Preset card
    A preview image of the preset's color palette, resolution, and effect settings. This card image can be exported or shared
  • 19 Apply preset
    Apply this preset's effect settings to the current camera view
  • 20 Action buttons
    From left: export card image / import / share / delete

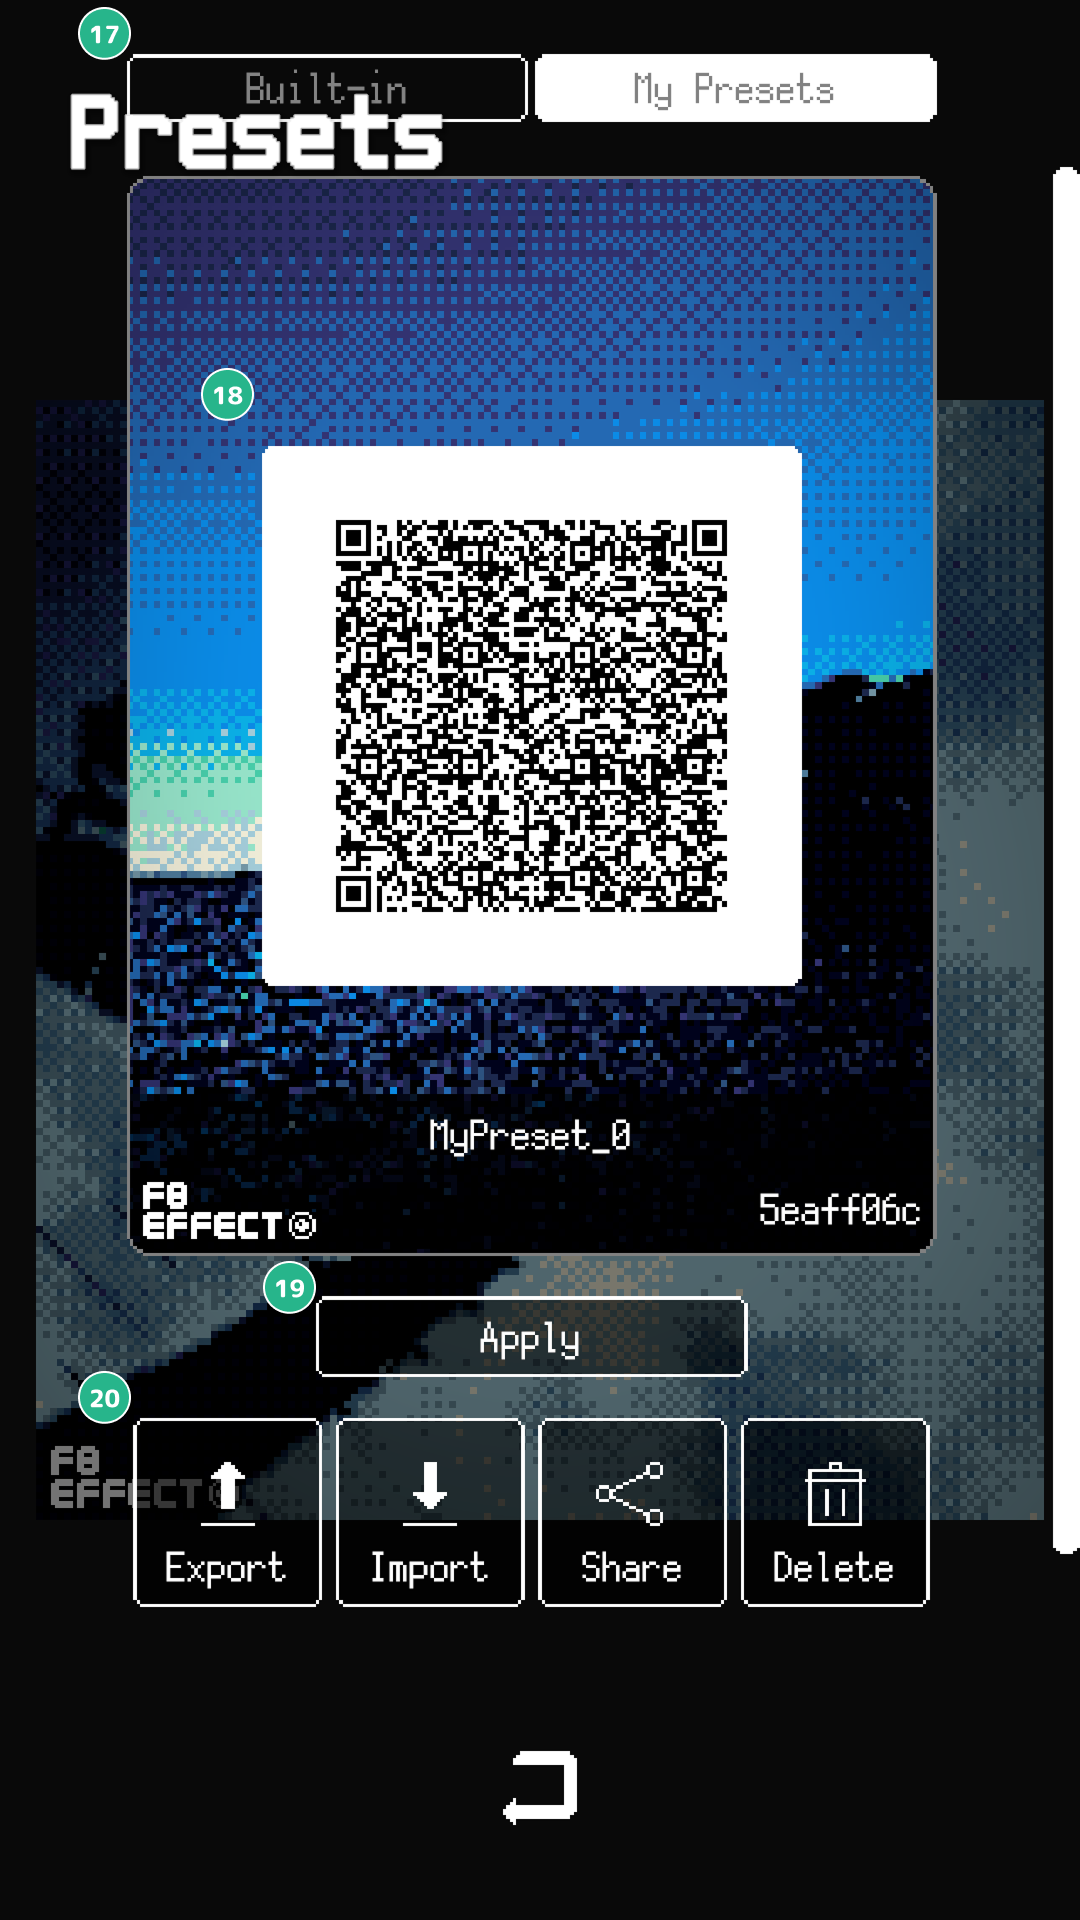
Tap a preset card to cycle through its cover photos. Pick your favorite before sharing or exporting.
More cover photo options coming soon.

My Presets (v1.0.5 and later)

Use the save button () in the effect settings panel to register your current settings as a My Preset. Saved presets are managed in the My Presets tab. You can save up to 20 presets.

Sharing Presets (v1.0.5 and later)

Export any My Preset as a QR code to share your settings with other devices or users. Tap the share icon in the action buttons (⑳) to display a QR code — the recipient scans it to add the preset directly to their My Presets.

To import a QR code, use the Import button in the action buttons (⑳) or scan it with the device's built-in camera app.